Hands-on introduction to Phoesion Glow

Are you tired of struggling with complex micro-service architectures that slow deployment processes? If you're a developer looking for a streamlined, efficient solution for building and deploying dotnet microservices, look no further than Phoesion Glow.
Phoesion Glow is a cutting-edge microservice development framework that offers a complete solution for creating, deploying, and managing microservices. Designed with simplicity and efficiency in mind, Phoesion Glow is the perfect tool for developers of all skill levels who want to create high-performance, scalable applications.
One of the key features of Phoesion Glow is its intuitive interface, which simplifies the creation and deployment of microservices. With just a few clicks, you can create and deploy complex microservices. In addition, Phoesion Glow offers native support for Kubernetes, a powerful open-source container orchestration platform that enables you to scale and manage your microservices with ease. With Phoesion Glow, you can take advantage of the power and flexibility of Kubernetes, without the need for complex configuration or setup.
In this article, we will focus on the simplest deployment model using Phoesion Glow, which is using just one Linux Virtual Machine (VM) and setup Phoesion Glow as a systemd service.
Prerequisites
A Windows machine with Visual Studio 2019/2022
Phoesion Glow Blaze for Windows installed
A Linux (Ubuntu) machine (that will host our services)
A domain name*
[NOTE] If you do not have a domain registered you can either use the server's IP, edit your hosts file, or create a free domain using Duck DNS (www.duckdns.org) for testing
Video Tutorial
Creating a Hello-World service
1. Create a new Solution
Create a new solution using Visual Studio with a Firefly Service Project project.
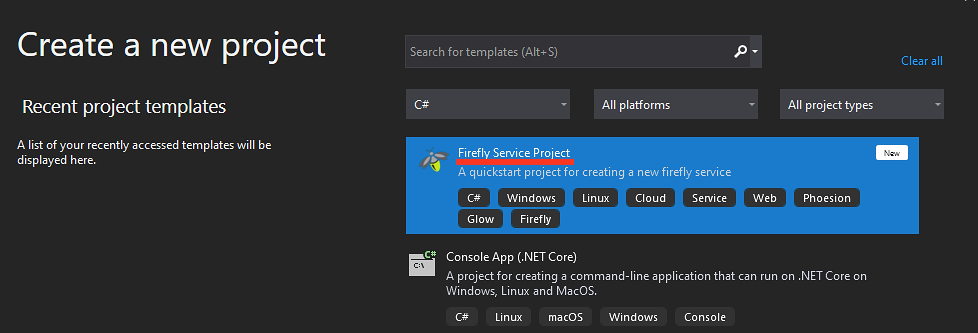
[NOTE] If you can't find the Firefly Service Project template, make sure you have Phoesion Glow Templates visual studio extension installed. If not you can get it from the Visual Studio Marketplace
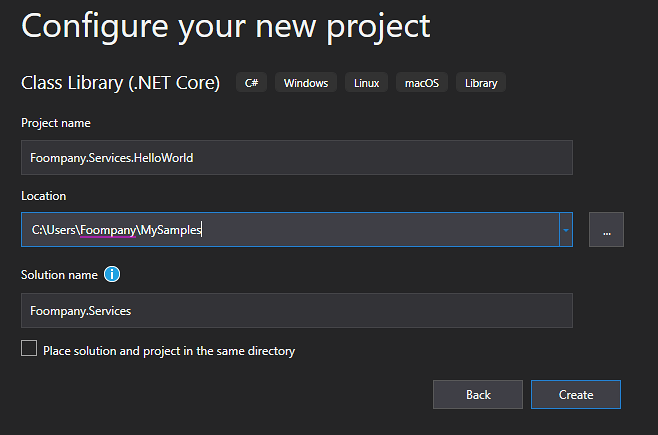
2. Configure new Project
Name your new project and solution :
Project name : Foompany.Services.HelloWorld
Location : <Set your location>
Solution name : Foompany.Services
3. Create a Firefly Module
Now we need to create a firefly module with an action.
In the folder Modules, delete the Sample.cs that was generated by the template and create a new module named Greeter.cs like so

4. Create an Action
In the new Greeter.cs, delete the Action1 function that was created by the template and add the following :
[Action(Methods.GET)]
public string SayHello()
{
    return "Hello world!";
}
Rebuild the solution and make sure everything compiles without any errors
5. Test/Debug your service locally
To start your service simply set it a Startup Project in Visual Studio and press F5. Wait until you see the Service Started! message, then you can test it by opening a browser and going to
You should see a "Hello World" message in your browser.
Create a Phoesion Glow Project
Next, we need to create a new Phoesion Glow Project.
A glow project is a JSON that contains the services' configuration and file locations.
To create a new project start the app Phoesion Glow Project Editor from your windows start menu or desktop.
Click New Project
Save the new project in the same folder as your solution, with the name GlowProject
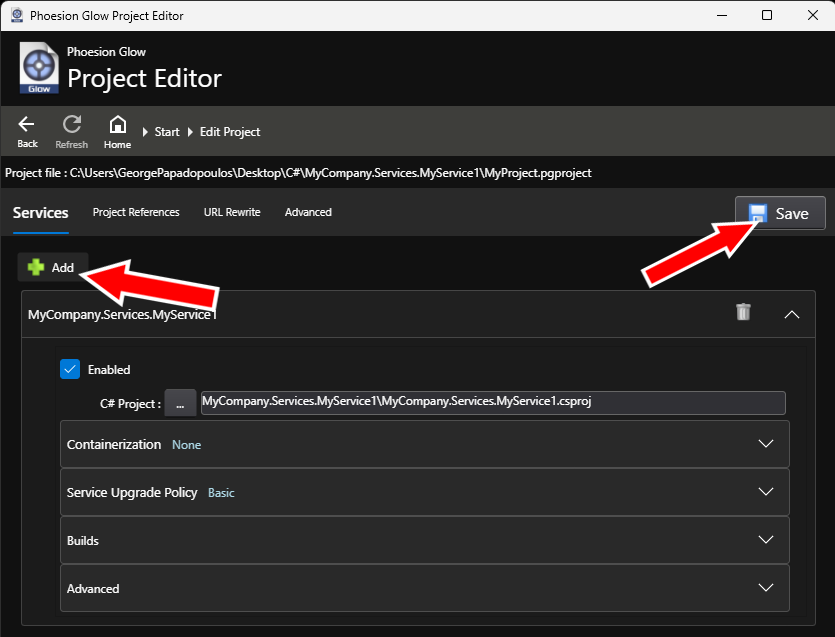
Now that the new project has been created, you need to configure the services.
Set for Namespace : Foompany.Services.
Click the Add button in the Services section.
Select your c# service project file (Foompany.Services.HelloWorld.csproj).
Click save and close the project editor.
Setup the Linux Server
Installing cloud entities on Ubuntu
In this section, you will install and setup the components needed to create a full micro-service ecosystem on a Linux machine.
1. Install the Repository key
wget -qO - https://packages.phoesion.com/apt.key.gpg | sudo gpg --dearmor -o /usr/share/keyrings/phoesion.gpg
2. Add Repository
echo "deb [signed-by=/usr/share/keyrings/phoesion.gpg] https://packages.phoesion.com/phoesion.glow linux main" | sudo tee /etc/apt/sources.list.d/phoesion.glow-main.list
sudo apt-get update
3. Install cloud entities packages :
sudo apt-get install -y phoesion.glow.kaleidoscope
sudo apt-get install -y phoesion.glow.lighthouse
sudo apt-get install -y phoesion.glow.prism
sudo apt-get install -y phoesion.glow.firefly
[NOTE]
Services will be installed under a new service user with username the entity name (eg. firefly), so you can adjust the rights for each entity service as you wishPhoesion Glow Lighthouse default port is 15000, so make sure your developers can reach this port!
Create an administrator account for Lighthouse
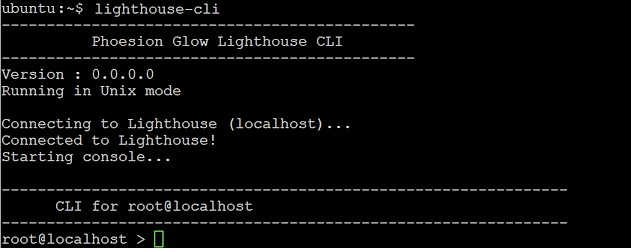
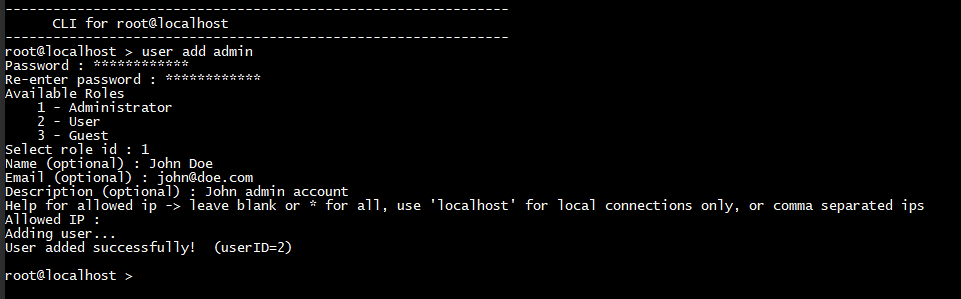
To be able to remotely connect to the Lighthouse you need to create an admin account. You can do this using the lighthouse-cli tool.
1. Start lighthouse-cli
lighthouse-cli
2. Create a new administrator user
user add admin
3. Setup new administrator user
Enter the information for admin user
Password : YOUR_PASSWORD
Re-enter password : YOUR_PASSWORD
Role : 1
Name (optional) : Administrator
Email (optional) : myemail@myprovider.com
Description (optional) : My Administrator Account

Leave Allowed IP empty, so you can login to the admin account remotely
[!WARNING] Make sure for Role you enter is for an Administrator . Otherwise you will create a normal user with limited capabilities
Deploy to the Phoesion Glow Lighthouse.
To deploy our services we need to connect from our dev-machine Phoesion Glow Blaze (Windows) to the Lighthouse that is now running on the server-machine (Linux). After we connect we can setup the environment and deploy our services.
1. Create a Lighthouse connection profile
To create a connection profile in Blaze for the admin Lighthouse account :
Launch the Phoesion Glow Blaze app from the start menu.
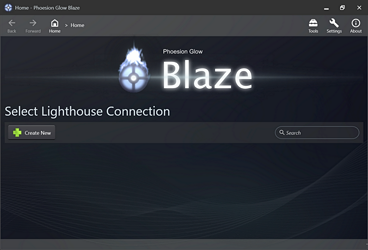
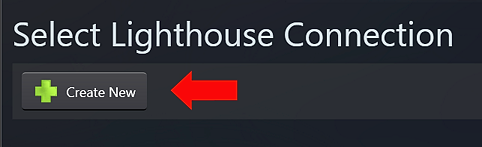
Create a new lighthouse connection profile
Fill in the configuration page
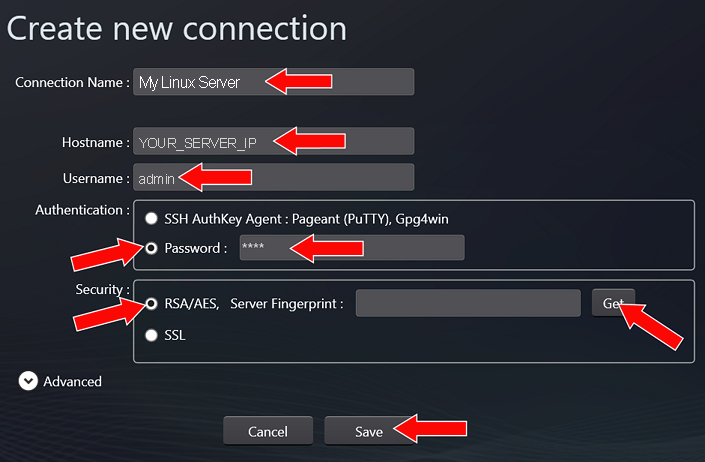
   Connection Name : My Linux Server
   Hostname : [YOUR_SERVER_IP]
   Username : admin
   For Authentication Method select Password
   Password : [YOUR_PASSWORD]
   For Security Method select RSA/AES
[NOTE] Replace [YOUR_SERVER_IP] and [YOUR_PASSWORD] with your own values
Click the Get button to retrieve the public RSA key from the lighthouse.
Click Save
The new connection profile has been saved and is now available on the main screen. Click on it to connect to your Lighthouse instance.
2. Create a new Quantum Space
Your cloud can run more than one set of services.
Think of a Quantum Space as an isolated box that contains a set of micro-services and spans across your cloud servers.
For more in-depth info you can read about Quantum Spaces here.
2.1 Create a new Quantum Space
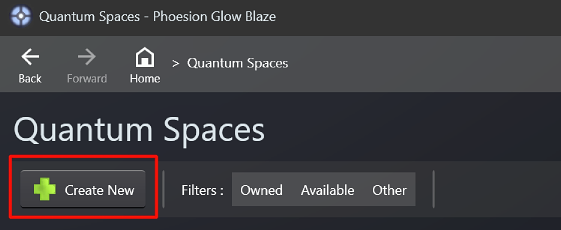
2.2 Setup new Quantum Space
We will create a new quantum space named 'Testing' and we will bind the domain 'localhost' (since we are testing on the local machine) to it.
(if 'localhost' is used by another qSpace, you can use 127.0.0.2 (see notes))
Quantum Space Name : Testing
Add Domain
Domain : localhost

Replace [my_domain] with your domain, eg. services.mycompany.com
2.3 Verify and create
Verify the information of your new Quantum Space and click 'Create' to create it.
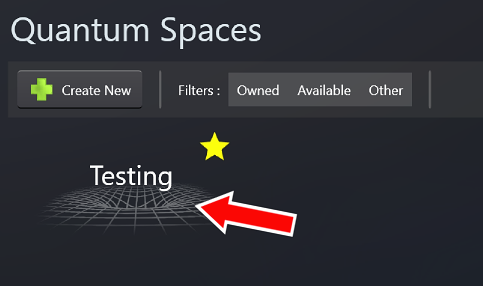
2.4 Open the new Quantum Space
Once the new Quantum Space is created, you will be able to see it in the list. Click on it to open it.
3. Deploy 'Hello World' Sample Services
Now we are ready to deploy the sample in the 'Testing' quantum space.
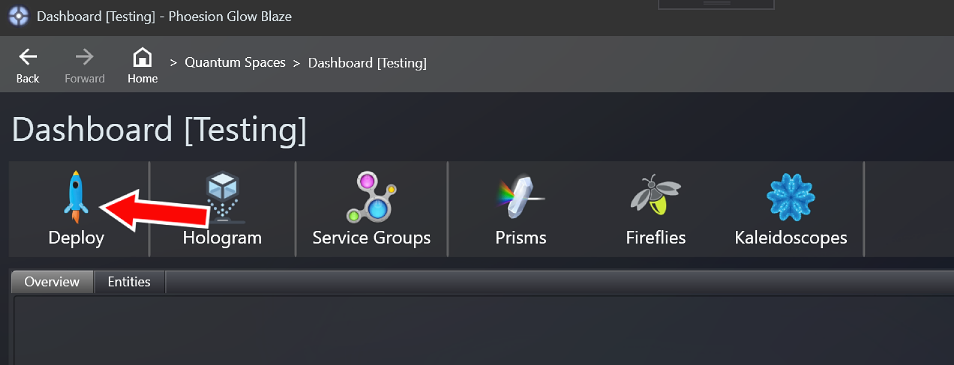
3.1 Start deploy wizard
Click the 'Deploy' button to start the deployment wizard.
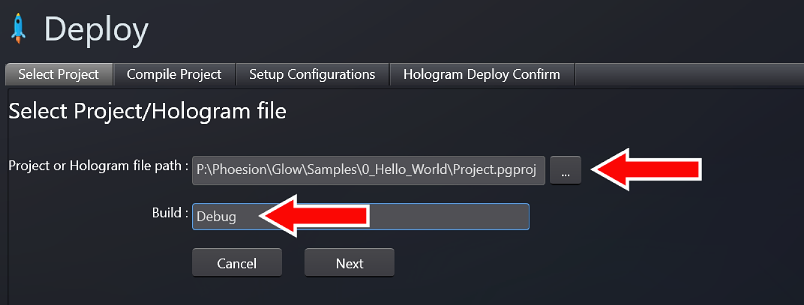
3.2 Start deploy wizard
For Project select the project.pgproject file from the sample.
Set the Build to Debug or Release.
Click 'Next'
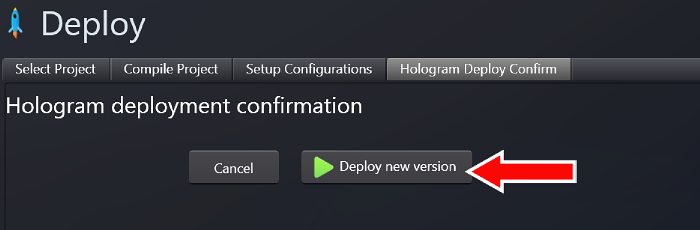
3.3 Deploy services
Once the project is compiled into a hologram, it can be deployed to the Lighthouse.
Click the 'Start Deploy' button to start the deployment.
Test your services
To test that your services are up and running open a browser and go to one of the following :
http://my_domain/HelloWorld/Greeter/SayHello
( where
my_domainis your real domain )
Summary
In this article, we demonstrated how easy it is to setup a scalable, micro-service deployment platform on your server and create/deploy a new micro-service.
With this setup now in place, creating more micro-services and deploying them into our Quantum-Space can be achieved with a few clicks. Using the Phoesion Glow Blaze GUI tool we can monitor the health of our services and view logs or other incidents.
Phoesion Glow isn't just about ease of use - it's also a powerful, flexible platform that can handle even the most complex applications. With support for a wide range of frameworks and technologies, Phoesion Glow is the perfect tool for building any type of micro-service, from small, focused initiatives to large-scale, mission-critical applications. It offers robust monitoring and reporting capabilities, giving you complete visibility into the performance and health of your applications. With detailed metrics and alerts, you can quickly identify and resolve any issues that arise, ensuring that your microservices are always performing at their best.
In conclusion, if you're a developer looking for a powerful, flexible, and easy-to-use solution for building and deploying microservices, Phoesion Glow is the perfect tool for you. With its intuitive interface, native support for Kubernetes, and robust monitoring and reporting capabilities, Phoesion Glow makes it easy to build high-performance, scalable microservices, no matter what your level of experience may be.
This was the first step of our cloud-service development journey!
For more information, you can dive into the documentation and sample repo.